
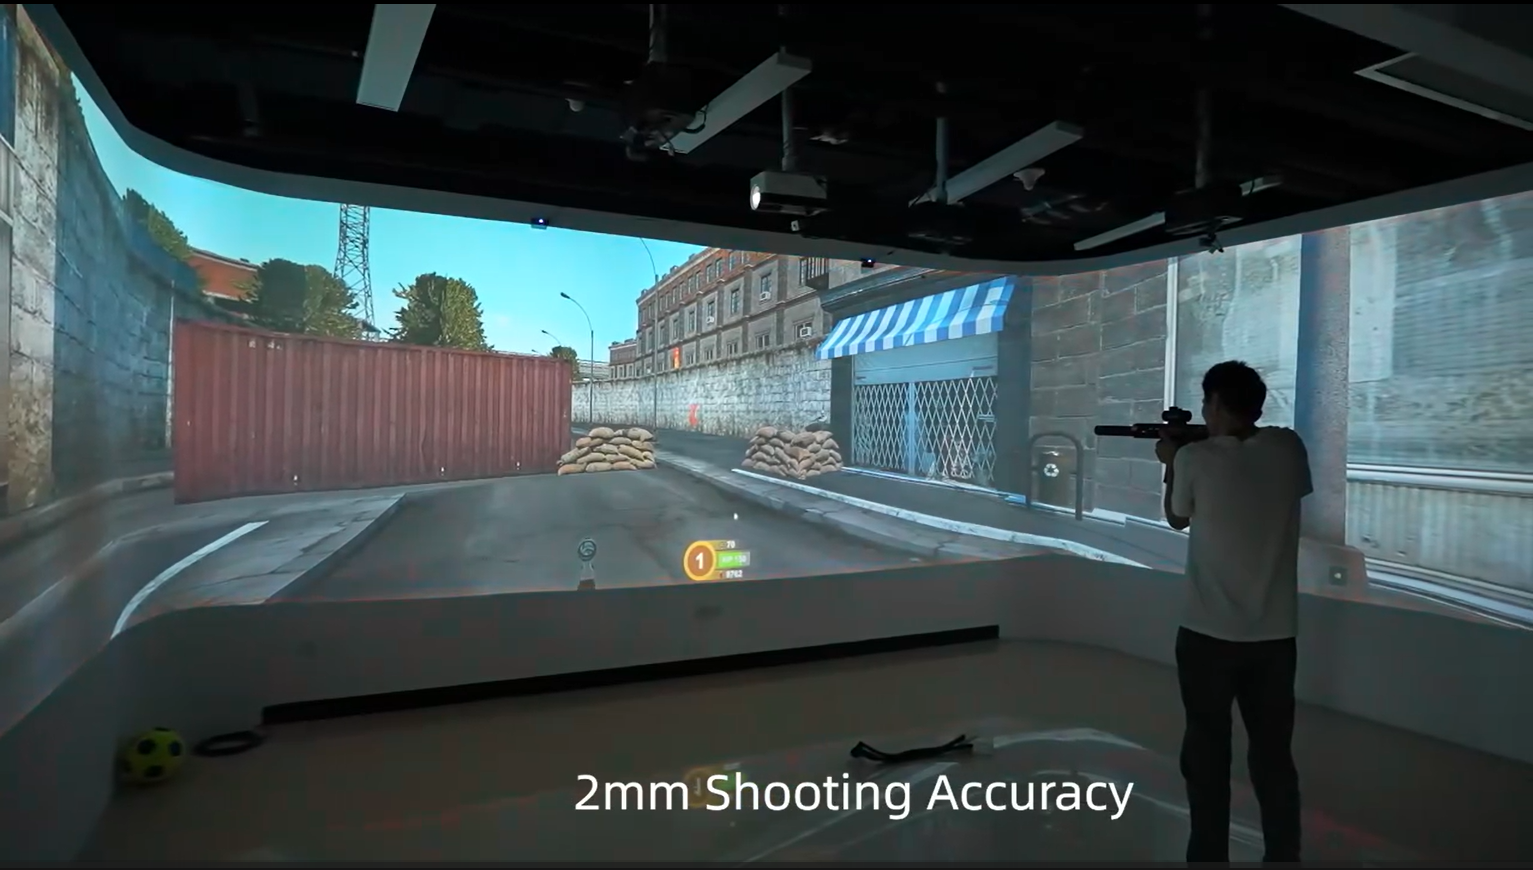
A customer in France has purchased three Gloview Games shooting titles and their matching gun controllers for a venue that is still in development. The plan calls for eight rooms, each with a 3-metre-wide wall and space dedicated to one player at a time.
For an AV integrator, the design starts with one room. Where will the player stand? How much of the wall will the projected image occupy? Once the equipment is in place, how will the installer check that a shot lands where the player aims?
Plan the projection area and player position
On the room plan, mark the usable wall width and height, the intended image dimensions, the projector position and the spot from which the player will aim. In the French project, 3 metres is the width of the wall. The projected image size still needs to be set on site, and the area in which shots register needs to be checked during commissioning.
The projector displays the targets. For this shooting system, the player stands back from the wall, lines up a target with the crosshair in the gun controller’s sight and pulls the trigger. This calls for a different layout from a Gloview LICT touch wall, where visitors stand within reach and touch the projected content. In a shooting room, check the view through the sight from the intended playing position, including the view of targets near both edges of the image.
Install the camera and run the first calibration
Each gun controller has a built-in laser emitter. The sensing component to mount in the room is the EASITECH camera specified for the shooting system. There is no separate laser emitter to install above the screen.
- **Set the projected image.** Position the projector, adjust the image size and focus, and check that targets are clearly visible from the planned player position.
- **Mount the matching camera near the projector.** Use the EASITECH camera model supplied or specified for the shooting system.
- **Run automatic calibration.** Power on the equipment, open the IWB software and run its automatic calibration function. Once calibration is complete, launch one of the shooting games.
- **Test from the player’s position.** Aim at a target near the centre, then at targets near the left and right edges. Compare the point under the crosshair with the hit registered by the game.
For a reference on the IWB calibration process, see the EASITECH calibration guide and video. The video shows a multi-projector CAVE installation. The hardware layout for a single shooting wall is described above.
Choose a player layout and check individual scoring
The French customer chose one player per room. For attractions that want several visitors to play on the same wall, the Gloview Games shooting software can be configured for up to six players. The system recognises each gun controller by its ID and keeps a separate score for each player.
A two-player test makes this easy to check before handover. Give each tester a different controller. Have the first tester score a hit and check which score changes. Repeat with the second controller, then have both testers play together and verify that each continues to receive their own points.
Choose the number of player positions to suit the room. For example, an indoor play centre or family entertainment centre might plan a two-player station for a child and an accompanying adult. During layout testing, check the sightline from both heights and make sure each player has enough room to aim at targets across the image.
Switch between three games on the same hardware
The Gloview Games package contains three standalone shooting games. To switch titles, staff close the current game and open the next one. All three use the same controllers, camera and calibration. Switching between the installed titles requires no settings changes, hardware repositioning or recalibration.
For a theme park or visitor attraction with one indoor activity room, this allows the same wall to host three different games. At handover, ask a staff member to close the first title, open the second and register a hit using the same controller. This gives the venue team a practical check they can repeat for the third title.
For an interactive exhibition, a content studio may want visitors to aim at objects from the exhibition and see a particular response when they hit one. Define those targets, the hit feedback and the scoring rules in the content brief. A new exhibition theme can then be assessed separately from the straightforward process of switching among the three supplied games.
View the Gloview Games interactive projection shooting system
Preguntas frecuentes
**We have a 3-metre-wide wall. What else do you need to assess the room?**
Share the usable wall height, room depth, intended image size and player position. If you have selected a projector, include its model and planned mounting position. A floor plan or site photo helps the project team review these details together.
**Can two visitors play on the same projection wall and keep separate scores?**
Yes. Each visitor uses a controller with a distinct gun ID, and the game credits points to the corresponding player. The software supports up to six players. The appropriate number for a particular room depends on the available playing space.
**Can we use our own exhibition theme with the shooting system?**
Send a brief describing what players aim at, what happens when they hit a target and how points are awarded. EASITECH can then review the hardware requirements and the content development and testing involved.
Discuss your shooting room layout
Send EASITECH a floor plan or site photos, the room dimensions, wall material and usable projection area. Include your existing or planned projector setup, how many visitors you want to play at once, and any game theme or operating requirements. If you are choosing between individual rooms and a shared multiplayer wall, tell us how you want visitors to play so we can review the layout and equipment with you.